Where kitchen space is at a premium, could a single-wall layout be your solution? Single-wall kitchens have the smallest possible footprint and, as the name suggests, incorporate all furniture and appliances in a single line. Fewer cabinets mean this kitchen layout should cost you less than others. And with a well-planned design — and in small rather than large kitchens, where work zones could become too spread out — fewer cabinets also make for an efficient workflow, with everything within easy reach. Here’s how to make a single-wall kitchen work for you.
Embrace a Sociable Layout
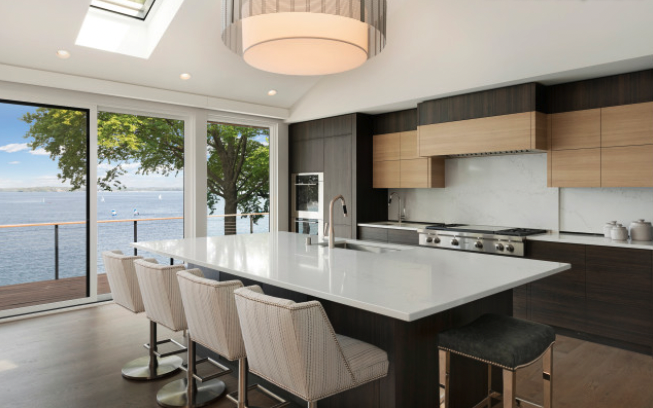
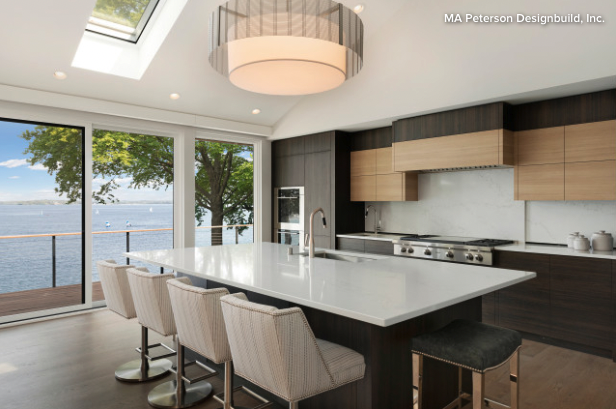
While its small footprint may at first seem to be a drawback, the single-wall kitchen encroaches less on an adjoining living area compared with other layouts, freeing up more space for you outside the kitchen. The layout in the picture, typical for a single-wall kitchen, complements contemporary open-plan living.
The single-wall kitchen is generally designed so only one person can cook at a time — a limitation that makes the kitchen safe yet still convenient for others to access. It’s important to keep this aspect in mind to ensure a design that accommodates the users’ needs and lifestyle.
Plan an Efficient Design
With any kitchen, careful planning is important, but it’s even more so when space is limited, as it is in this layout. Typically (but not always), a single-wall kitchen includes a fridge on the far end of the kitchen run. This would have the sink next to it, with counter space on either side, and your dishwasher and storage beneath. The oven and cooktop are usually located on the far side of this. Again, there should be counter space on either side of the range to allow you to safely place food after cooking. More storage space would be provided beneath.
Alternatively, as long as they don’t block the light source, you could have tall cabinets bookending the kitchen. This would usually include an oven in tall housing on one side and a fridge-freezer on the other.
Stick With a Standard Run of Cabinets
Above the lower cabinets, there’s usually a run of upper cabinets, sometimes with a tall cabinet at one or both ends. Your exhaust fan and housing (if applicable) are also located in this run. The cabinetry may stretch the full length of the wall.
Install Bridged Upper Cabinets
Depending on the available space, another option is to introduce a run of bridging cabinets along the top of your upper cabinets. These usually have tall cabinets on either side. Apart from extra storage, this creates a sunken effect for the upper cabinets through subtle changes in depth. The upper cabinets are about 14 inches deep, and the top cabinets are about 26 inches deep. The overall feel of this is a framed kitchen look, or a feature wall effect.
With this arrangement, it’s best to store items used less often in the top cabinets and to invest in a foldaway footstool for access. You can also match your kitchen cupboard and wall colors for a seamless look to your kitchen and dining or living space.
sponsor by Houzz Contributor